Adjustment of secondary mirror of Ritchey Chretien optic RC360AS
1. Step: You need absolutely stable mechanical parts to find the center of the tube!
A&M produce very precise mechanical tubes. You need a center mask with a little hole in the middle (my mask has a 0.6mm hole). It is necessary that the mask fits exactly in the front of the tube and be sure that it is in the right angle! The material of my center mask is 12mm aluminium. It was made with a CNC machine.
You need also a well aligned collimation laser beamer, the best one is with a threat. To be shure that the laser beamer is in right angle to the back of the tube, you need e precise laser flange with the threat for the beamer. Mount this flange on the tilt plate backside of tube.
 Center Mask
 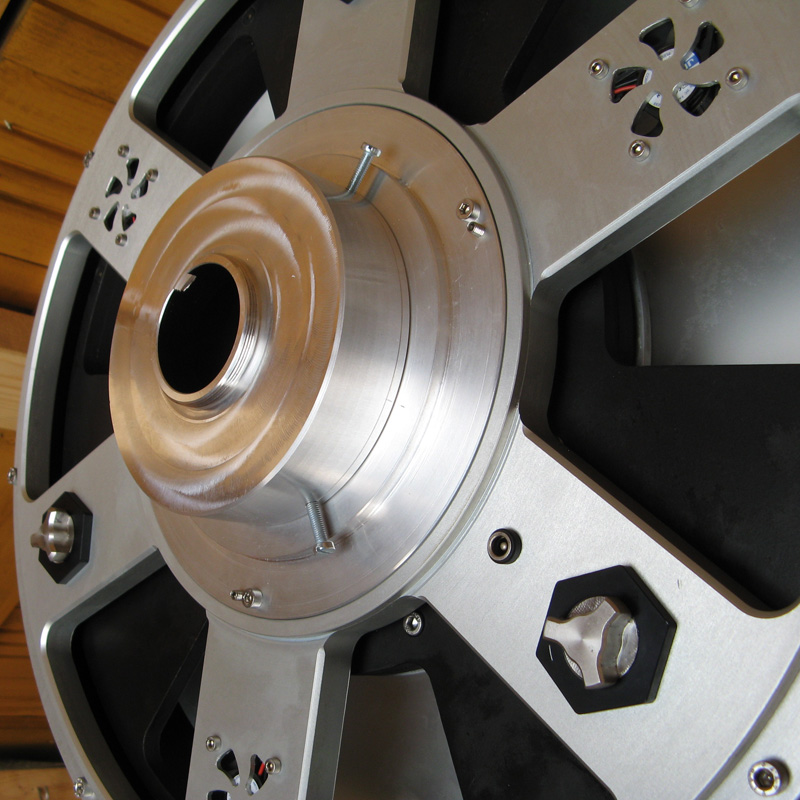 Laser Flange
 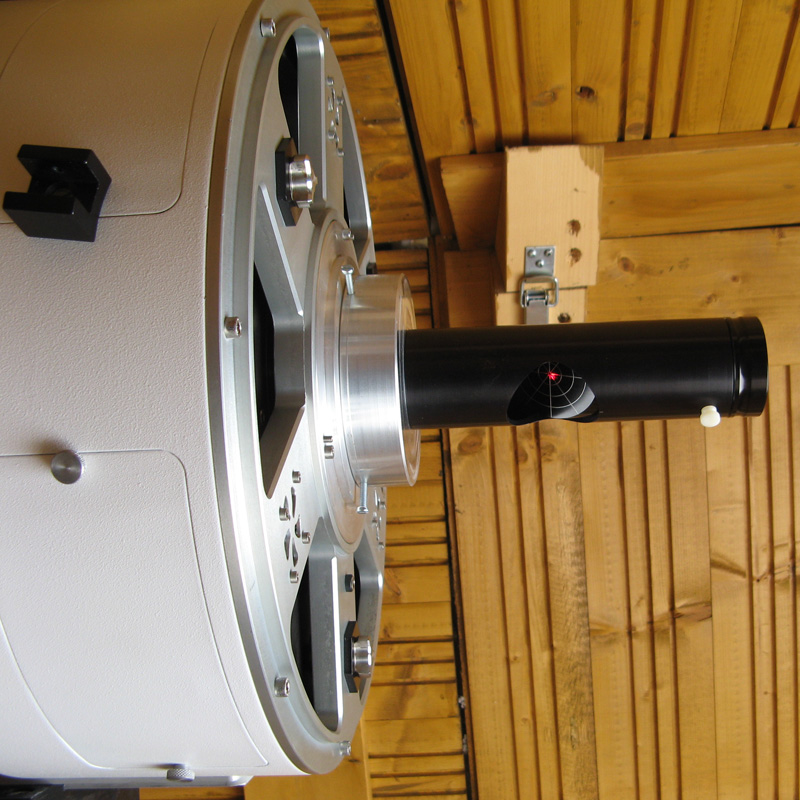 Laser Beamer
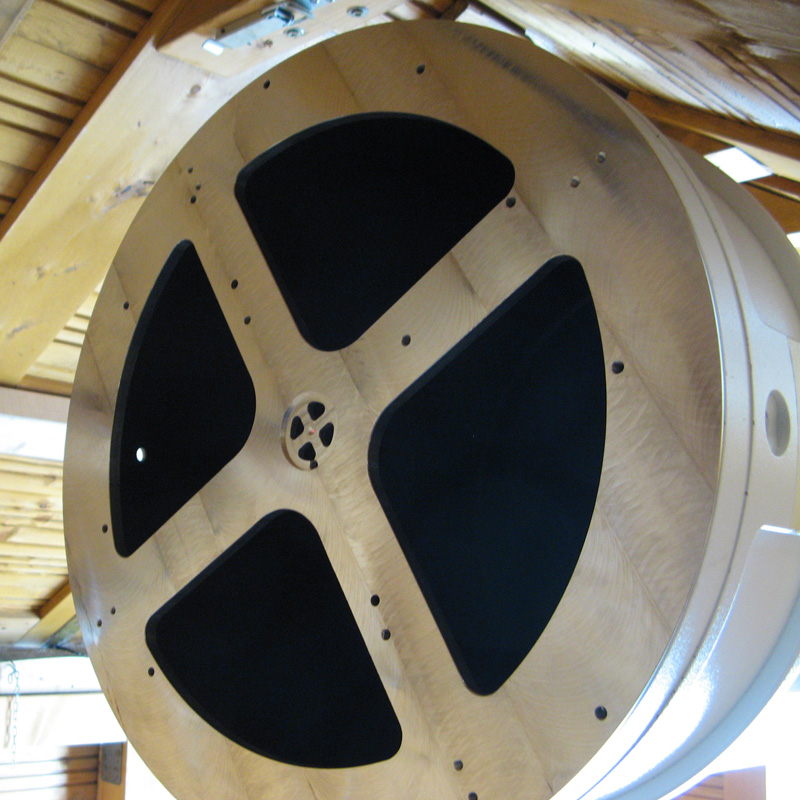
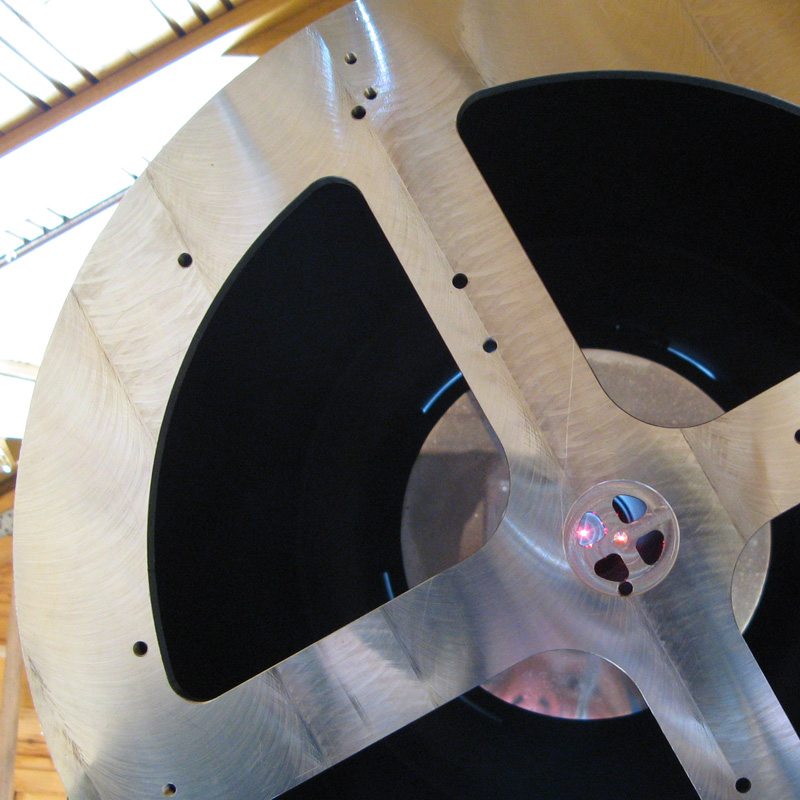
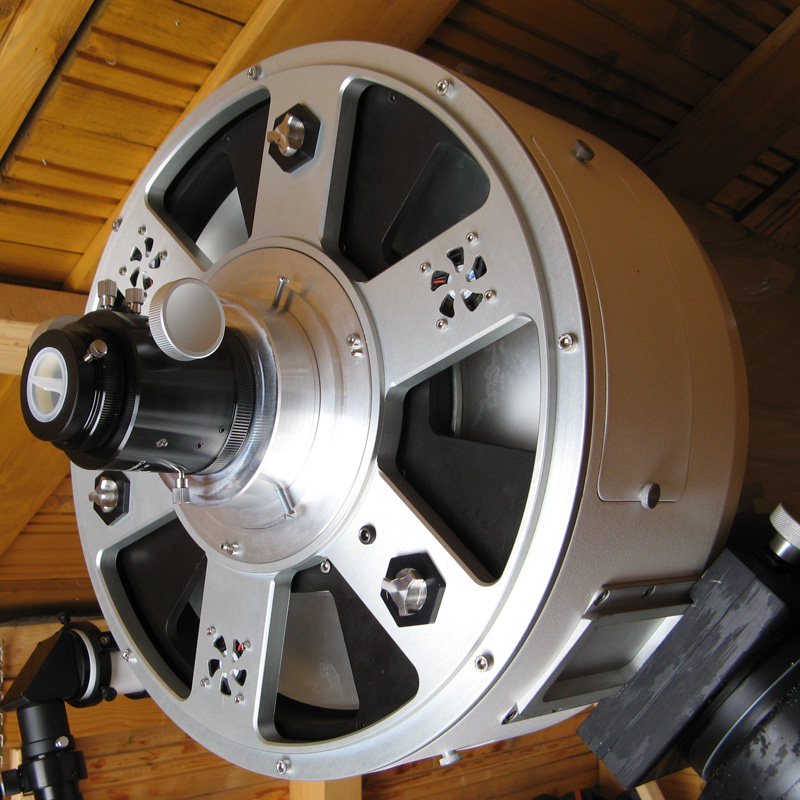
2. Step: Disassemble the secondary mirror with the 4 special screws on the outside of the tube.
Mark one of the spider plates with a sticker and also the tube to find later the same position. This is important because the manufactor of the mirrors has optimized it for this position. Unscrew the 4 screws with the special tool of A&M and take the mirror with the spider from the tube.
 Secondary Mirror
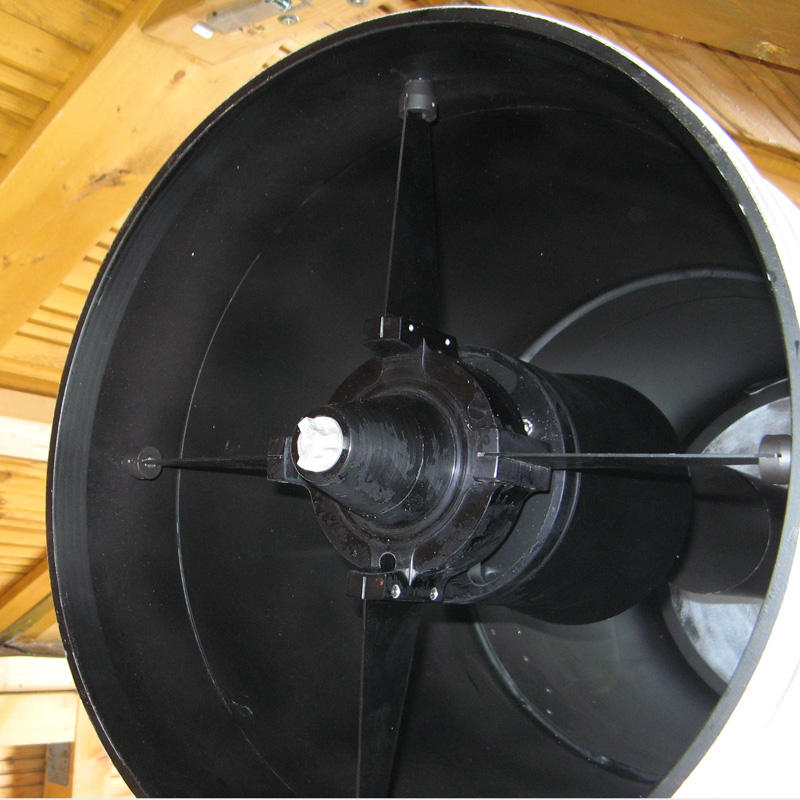
 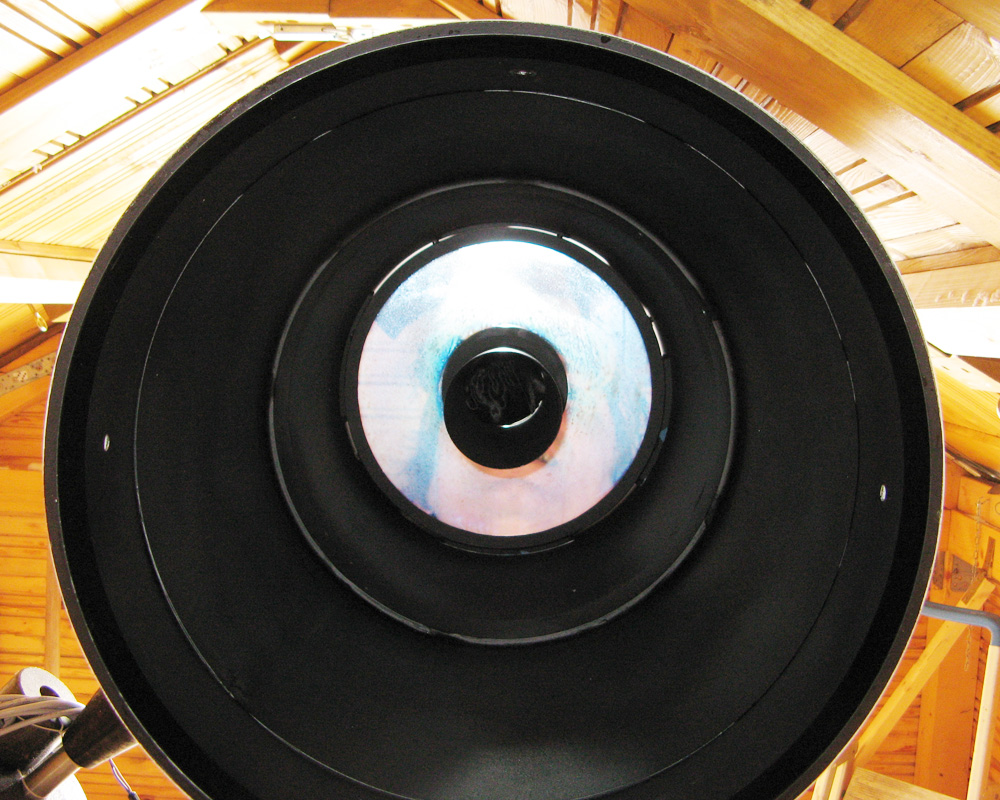 Tube without S.M.
3. Step: Mount laser flange, laser beamer and center mask
Look at images of step 1.
4. Step: adjust the tilt-plate on the backside of tube
The laser beam should find exactly the little hole in the center mask. In my case it was only 1mm outside of the center before correction.
 Laser beam through the center hole
5. Step: Disassemble the center mask, mount and collimate the secondary mirror
Be sure that you find the right position of the secondary mirror with the marks of step 2 and screw the spider with the 4 special screws on the tube. Look to the main mirror and you will see the circles on the secondary mirror. Move with the 4 special screws this center mark to the middle where the laser beam points. Now the secondary mirror is in the middle of tube. At next you have to collimate it. The laser beam has to find back in the middle of the laser collimator. Adjust it with the 3 collimation screws on the secondary mirror. After that you have to control if the laser beam is still in the center of secondary mirror. If not, you have to adjust and collimate it again.
 Secondary Mirror
 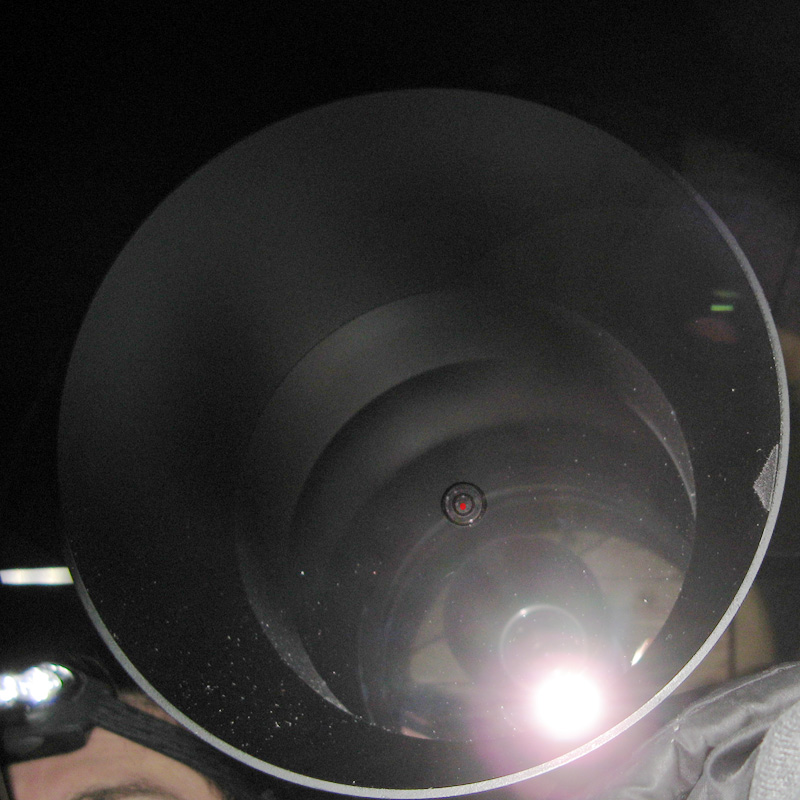 Mark on mirror
 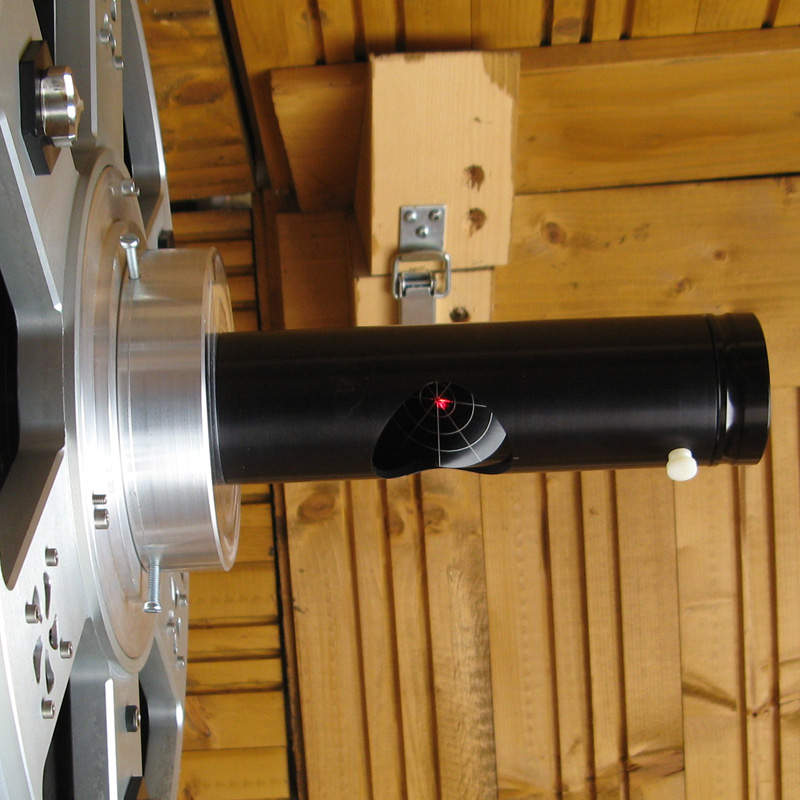 Laser beam comes back
6. Step: Mount a focuser instead of laser beamer and collimate the main mirror on a star
7. Step: Disassemble the laser flange and mount your normal equipment instead of it (Pyxis-rotator and FLI-PDF focuser in my case)
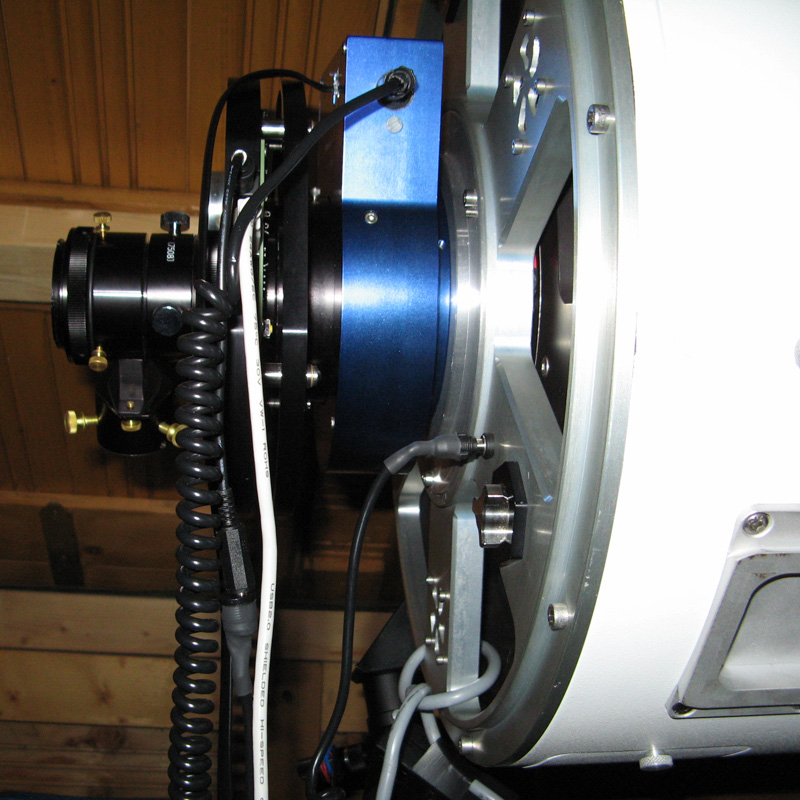
Because of mechanical reasons the focuse plane will be tilted after the rotator and focuser. You can improve it if you mount the laser beamer behind the equipment and correct the tilt with the tilt plate on back of tube. The laser have to point in the middle of the secondary mirror.
Now you are ready to take your images, good luck and clear skies!
![]()